%20Text%20(Violet).png)
Movement analysis is one of the most fundamental learning experiences in examined PE courses. From GCSEs to A-levels to BTECs OCR Technicals to VCERTs, movement analysis contributes marks to over 100k students’ exam performance every year. The aim of this blog post is to ensure that the PE teaching sector is best equipped to guide learners in the most relevant ways.
Taking a step back
Let’s decipher the two words that form the term “movement analysis”.
Movement: the examples we provide must be dynamic. 2D static images have their role but the images MUST show a from and to stage.
Here is an example:
This...

…is better than this…
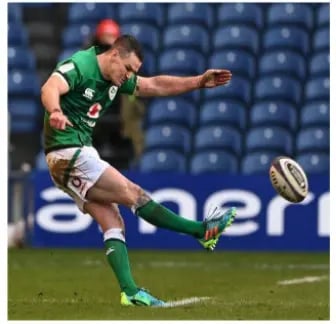
…because it is dynamic.
Analysis: no matter what any exam board (OCR) claims, analysis ALWAYS refers to breaking something into parts and then explaining it.
In other words, movement analysis should require that a student can perform a range of different skills or “sub-parts” of a whole movement. Here are some examples:
Movement Analysis Checklist
I encourage you to highlight any areas that you feel your knowledge is weaker. The checklist is a generic list of movement analysis knowledge but can give you an insight into where your knowledge might need development.
Now, this list could continue in all kinds of different ways but, given the nature of most qualifications studied in school and college, these types of analysis are most common. Teachers will always teach to the extent of their specification or, more relevantly, to the extent of the mark schemes for their specification but I urge teachers to audit their own personal knowledge level on the list of analysis items above.
So, let’s take an example from scratch and go through some principles of how this should be taught. I’ve decided to use the example of a press up and focus on the elbow as it is so quintessential.
Here are my eight principles:
Principle 1: Get your imagery right.
I will use this image as my base because it is dynamic (has more than one phase).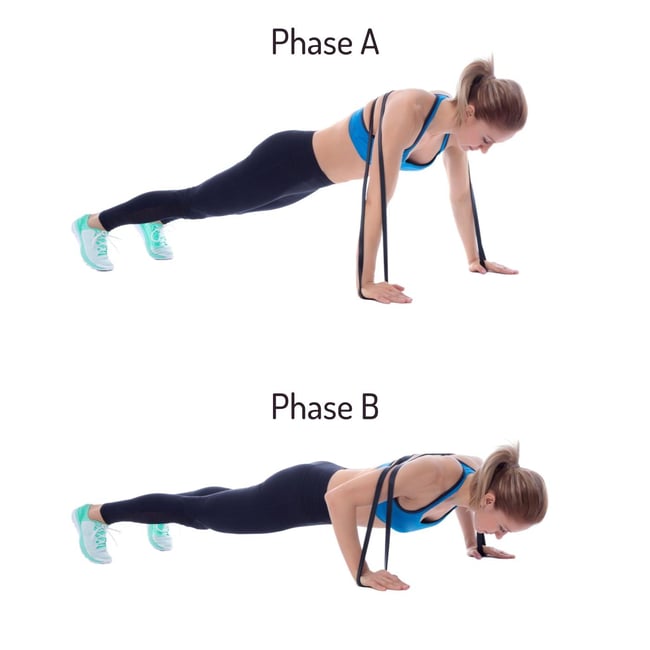 I will also use a range of supporting imagery that focuses specifically on the elbow joint:
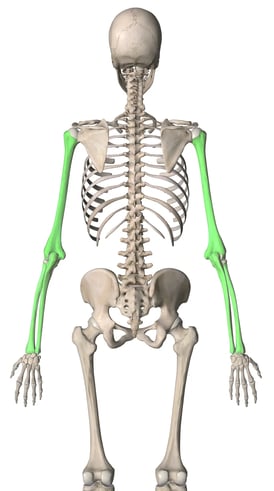
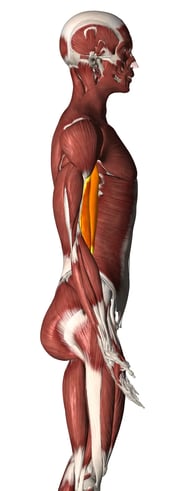
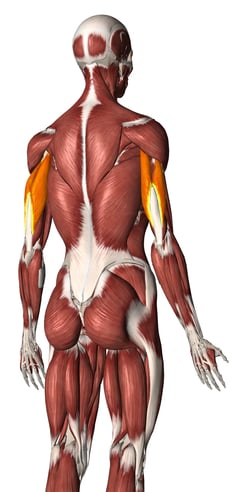
I would like you to pay attention to the type of imagery I have selected here. I use highlighting for emphasis. I vary the angle of the shot to give the best perspective of what I will need to teach. I do not use whole-body imagery with other bones/muscles labelled. If you focus on the skeletal image, you will notice that I take the shot from the posterior view. This is to give the best angle of all three articulating bones and to clearly show that the point of the ulna (the olecranon) is on the back of the elbow. I can also use this image to emphasise that the radius is on the thumb side and the ulna is on the pinky side. Also, all my non-dynamic imagery is in the anatomical standing position.
Principle 2: Start teaching movement analysis weeks before the movement analysis lesson.
We can call this interleaving but, in my mind, it is simply common sense. When you teach the bones of the skeleton, say, teach this with movement in mind. Or when you teach that one function of the skeleton is muscle attachment, use specific movement examples to emphasise this. What we must not do is any of the following:
- Labelling a whole skeleton.
- Labelling a whole-body muscular system image.
- Completing a table with items missing and requiring a student to fill them in (although this is a convenient assessment method).
- Teach movement purely theoretically.
These four examples of what not to do are, in my experience of PE classrooms, very common. I am fervently arguing that the first two have no role in the PE classroom whatsoever. That the third one must be used purely for assessment purposes and that the fourth one will guarantee to underprepare students for this skill.
As an example, here is all the imagery I use when teaching the bones of the skeleton in AQA GCSE PE. I want to emphasise that, in all cases, I am focussing on joint articulations not just the position of the bones:
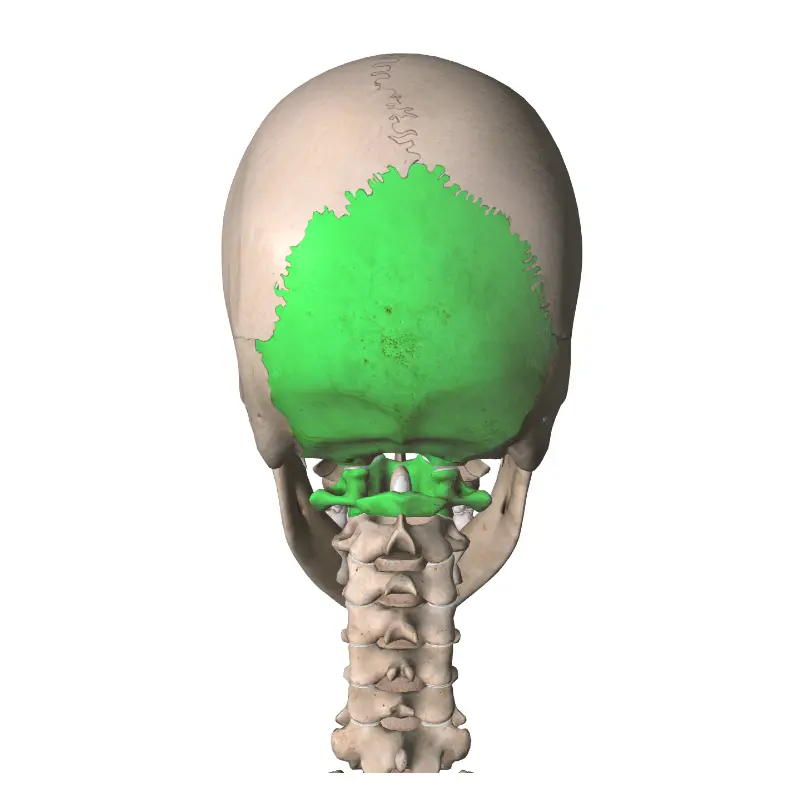

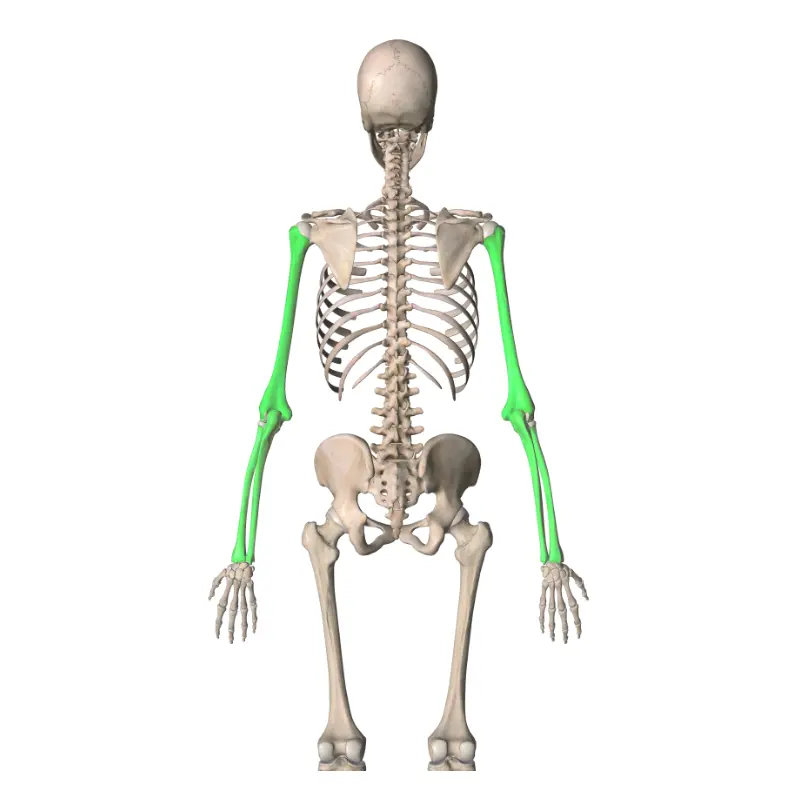
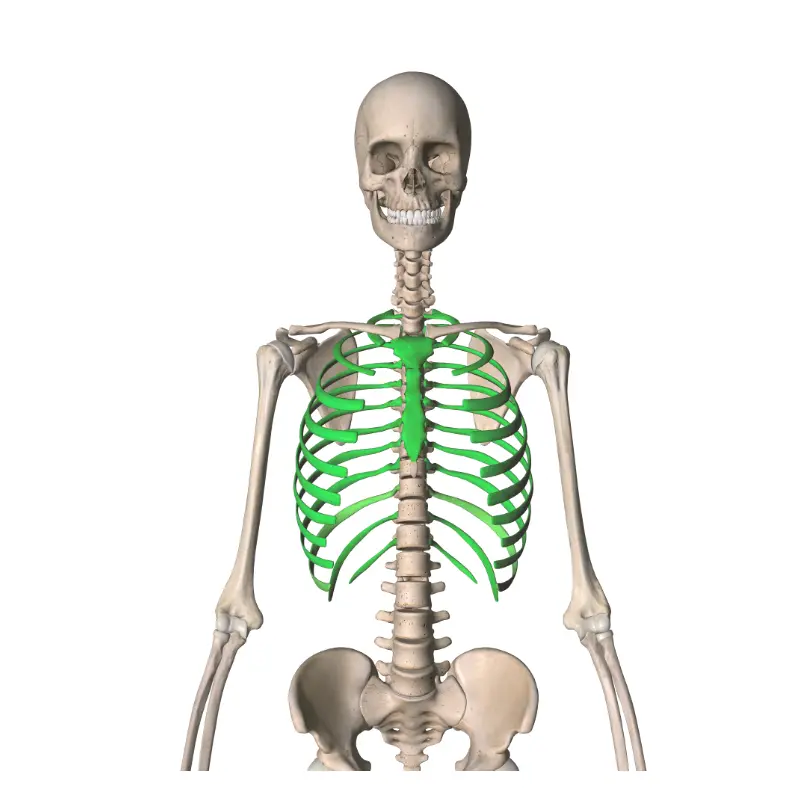
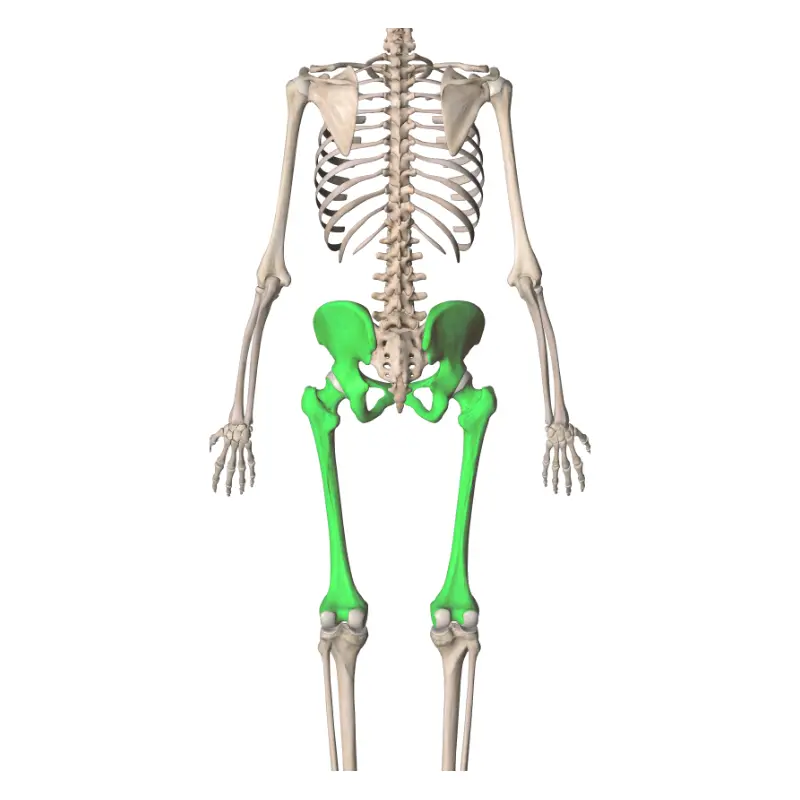
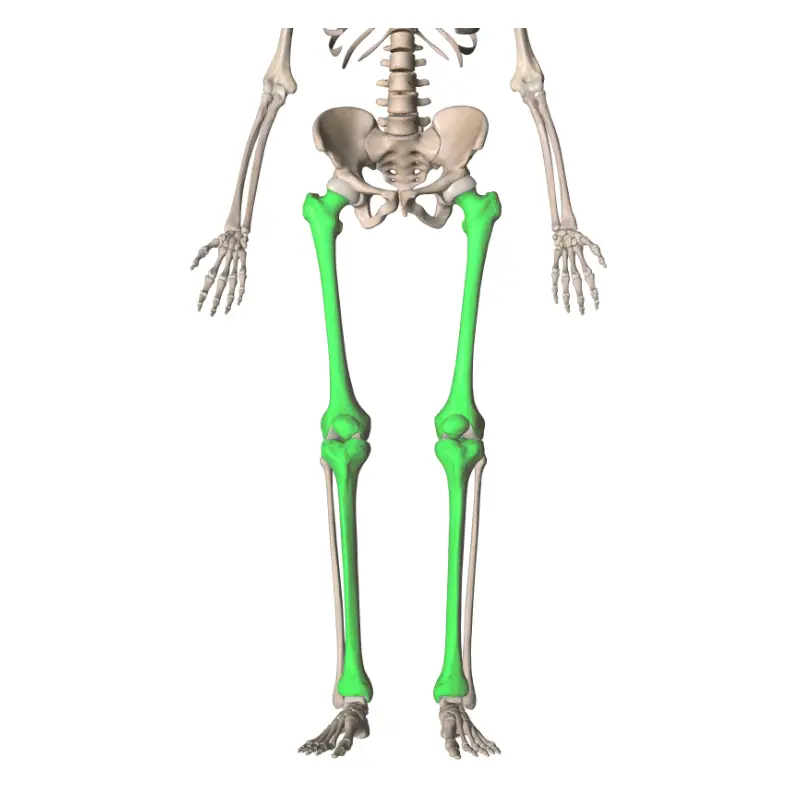
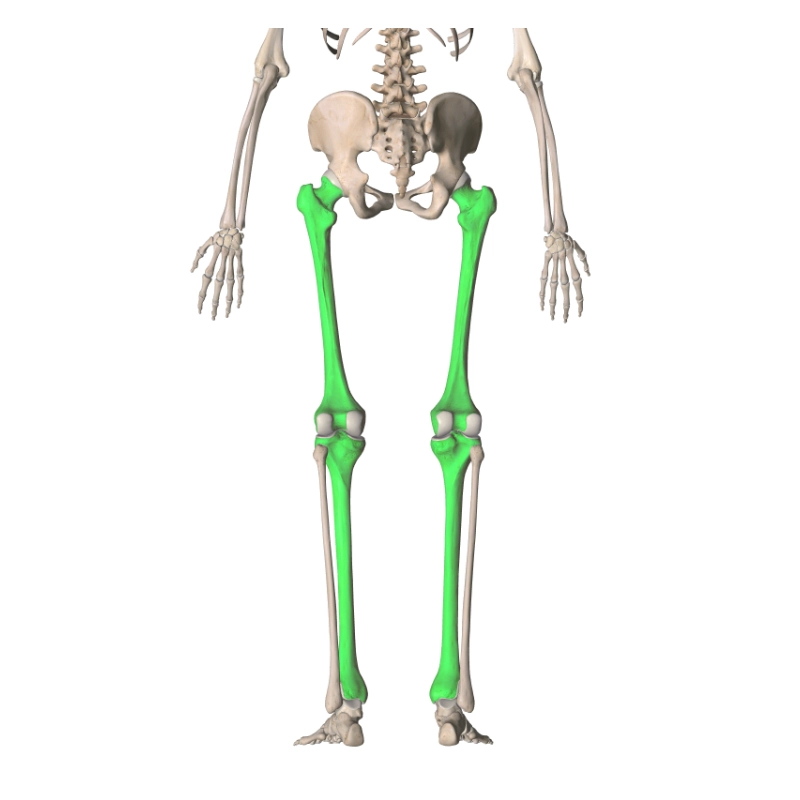
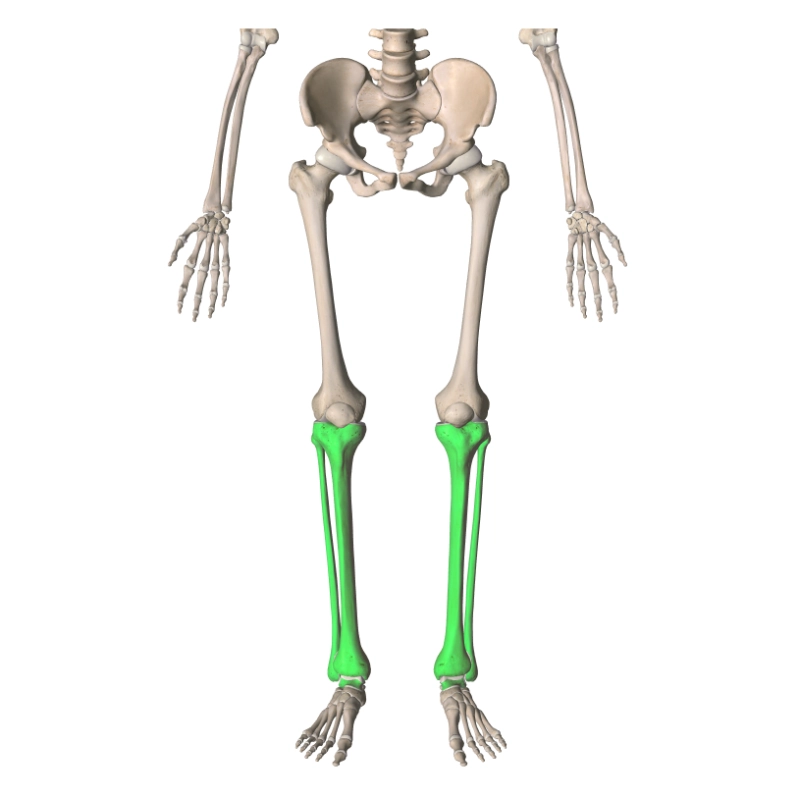

Each image represents the joint more than it represents a single bone. I am also avoiding teaching with a whole skeleton.
Principle 3: Lessons MUST be practical/active.
I want to set a standard here: except in the extreme case of having no facilities available to you, teaching movement patterns without practical exemplification is not acceptable in PE. The nature of the practical could be varied and need not be the only experience but students need to experience movement patterns in order to intuitively understand them. An excellent example is the “feeling” of eccentric and concentric contractions. Let’s go back to the press-up and remember that both the downwards and the upwards phase have the triceps (brachii) as the agonist but that on the way up the muscle is contracting concentrically and on the way down the muscle is contracting eccentrically. Students can investigate this through practical and the intuition of that learning will be far greater than learning the theory alone.
Principle 4: Teach muscle insertion points.
I already know that I am going to get criticism for this as, potentially, I am asking you to teach something that is above the spec but, bluntly, it's too important for me to be shy about. Part of being able to analyse movements is the capacity to describe the contribution of levers to movement. The only way to do this is to know onto which bone the agonist inserts. Anything short of this means that students cannot, under any circumstances, understand lever classifications. Without insertion knowledge, students may be able to recall lever classifications but they will never understand them.
Let’s look at the elbow again.The triceps inserts onto the point of the ulna (the olecranon) via the triceps tendon. This means that the muscle insertion of the agonist (the effort) is outside of the elbow joint itself. This in turn means that the elbow joint (the fulcrum) is in between the effort and the load during elbow extension. In other words, it is a first-class lever system. Here is a simple representation: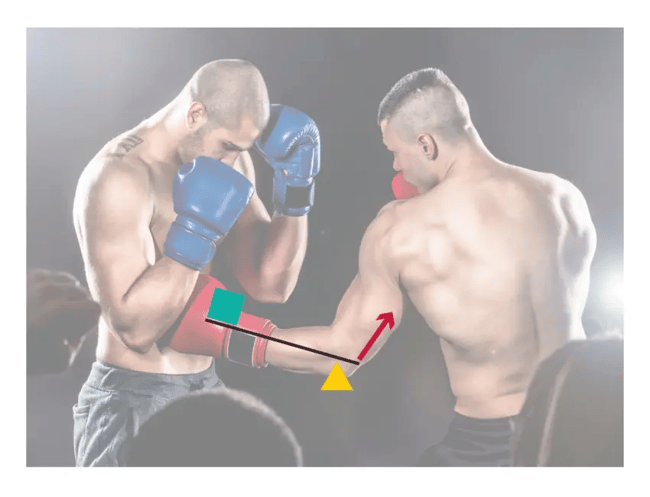 If the student does not know that the triceps (brachii) inserts onto the ulna, there is no way for them to understand why elbow extension is a first-class lever. This goes for all lever classifications. I made this simple table to help teachers, assuming that all movements are achieved via concentric contractions of the agonist:
Principle 5: Quiz, quiz, quiz!!
Movement analysis and the component skills that it involves is a quizzing dream. I estimate that my GCSE students answer at least 1k quiz questions on movement analysis per academic year (therefore, 2k questions in total). This is in addition to exam practice, worksheets, teaching episodes and so on. These questions range from simple bone identification to more challenging analysis of levers or the application of planes.
I interleave movement analysis quizzing into every weekly mastery quiz that I set. This means that students complete movement analysis quiz questions for almost 90 consecutive weeks.
Again, some teachers may find what is written above to be strong but I see my role to be to ensure that the learning structure that I provide to be the exact learning experiences that cause performance improvement in the assessed skills.
Principle 6: Recognise what students typically get wrong.
In my experience of movement analysis teaching, certain concepts are frequently misunderstood by students. I am still unsure why this is the case but these are ten examples where students frequently get stuck. Therefore, these are ten areas for us to over-teach:
- Hip flexion being movement of the leg in front of the body along the sagittal plane and hip extension being movement of the leg behind the body along the sagittal plane.
- Shoulder flexion being movement of the arm in front of the body along the sagittal plane and shoulder extension being movement of the arm behind the body along the sagittal plane
- The articulating bones of the shoulder. For some reason, students tend to forget “scapula” and often answer with “clavicle”.
- Elbow extension being a first-class lever (see above)
- Circumduction being a summation of four other movement patterns
- The difference between circumduction and rotation at a ball-and-socket joint
- The role of isotonic eccentric contractions when a muscle needs to act as a brake to decelerate motion
- When an isometric contraction is occurring, at least two muscles are prime movers. This is known mechanically as the principle of moments
- The ankle is a hinge joint
- The prime mover for dorsiflexion (assuming an isotonic concentric contraction) is the tibialis anterior
Now, I could continue here but all ten of these common misconceptions can be useful to know as students tend to miss marks in these areas. Again, our job is to “over-teach” these concepts to make marginal gains in exam performance and understanding.
Principle 7: Don’t get bogged down with language (or spelling).
Movement analysis has its own jargon. From antagonistic movement to dorsiflexion to lateral flexion to synergists, there is a lot of language to learn. In my experience, teachers tend to overly focus on the correct language and under-focus on the intuition of the concept. Now, I should be clear here: as students progress through our courses, the correct technical vocabulary is absolutely necessary but, in order for that vocabulary to stick, the student must understand the concept. Once the concept is gained, the language is a simple process of memorisation and utilisation. In other words, a student may well forget the phrase “isotonic eccentric contraction of the biceps femoris” but they will never, ever forget that muscles can only pull and, to perform other actions, muscles need to be able to perform pulling contractions even if the muscle is lengthening. It is this latter point that needs to be truly understood. The language can be built around the concept. It must not be the other way around.
A classic example of this is when a teacher starts a teaching episode with a definition:
“Isotonic eccentric contractions occur when a muscle lengthens under tension.”
Think about learning this for the first time having had no previous experience of the topic. This will be the case for the vast majority of students at GCSE level, say. In my opinion, a definition should almost never be the first teaching point and should very frequently be the last brick in the wall when we are looking to solidify a well-developed concept in a lesson. An alternative might be to demonstrate an eccentric contraction. This could involve a student at the front of the class doing a medicine ball exercise and describing which muscle they experience the contraction. Only after this should the definition be introduced. In fact, if the demonstration/activity has been high-enough quality, the students should be able to provide you with the definition because it is the summary of the concept that has just been understood. Reflect on your teaching. How frequently do you offer a definition on slide 1, 2 or 3 or introduce language as the aim of a learning episode? If it is often, why do you do this? In what way does it promote intuition of the concept?
Principle 8: Diagnose!
Lessons in schools and colleges typically present learning and assessment as separate experiences. A typical model might look something like this:
I believe this is a huge mistake. Learning is assessment. Assuming that it is not an external exam, assessment is learning. The only reason the two are distinct in classrooms is because we are defining them that way. Let’s imagine that over the course of one lesson, your students undertake these learning activities on movement analysis of the shoulder (I am imagining an A-level group):
- Short practical on shoulder movement including completion of a short document
- Tutorial on the shoulder joint
- Quiz on the shoulder joint
- Movement analysis worksheet on the shoulder joint
- Exam question practice on the shoulder joint
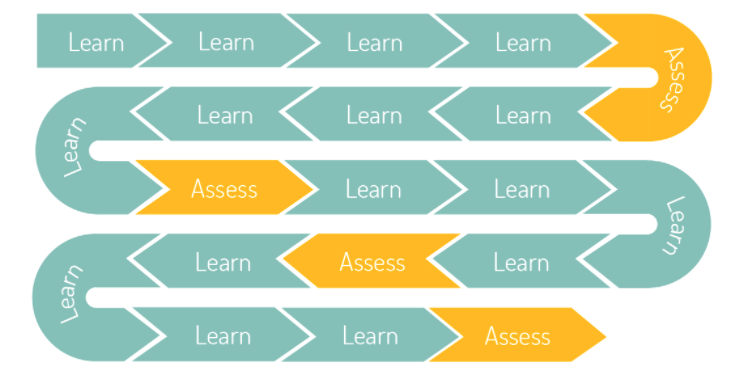
All of the activities above are data-centric. Our challenge is to create structures that make the extraction of this data implicit. Some of the examples are easy such as a tutorial on TheEverLearner.com or an automated quiz but by providing a recording environment for the success of a worksheet or a score achieved in a past paper question, the data flows organically. Take a look at this example from a block of A-level biomechanics teaching: Every single activity listed organically generates data so that the learning experience shifts to be more like this:

Conclusion
I am really hopeful that this post will have challenged you in some way. I try to see my blogging role as supportive provocation. I hope that my writing might give the reader confidence to try new things or to challenge assumptions. In a post like this one, I am asking you to tear up assumptions like labelling a skeleton. I am asking you to replace assumptive-based teaching with accurate, relevant, skill-focussed teaching that honours the ways in which human beings learn, remember and forget.
Thank you for reading.